

Our Camper Renovation
Written By: Sarah Reish
A couple of years ago we got a Little Guy Teardrop Sport Platform Toy Hauler and we love it. It was the perfect size to take back into the Bighorn’s for dispersed camping and travels well so we can pull into any spot for camping during our travels. It needed some work, but we were up for it. We learned a lot and had a blast renovating the camper to keep up with us. Here is how it went.

Step #1 - Inspect and Prep
We knew the camper wasn’t in perfect condition when we bought it and anticipated the work that we would need to put into it. So, for our first step we needed to inspect the entire camper to see what needed fixed. We also needed to prep it before we could fix much of anything. That meant sanding the interior cabinets and scraping the old stickers off the shell and sanding it down. We went through quite a bit of sandpaper.

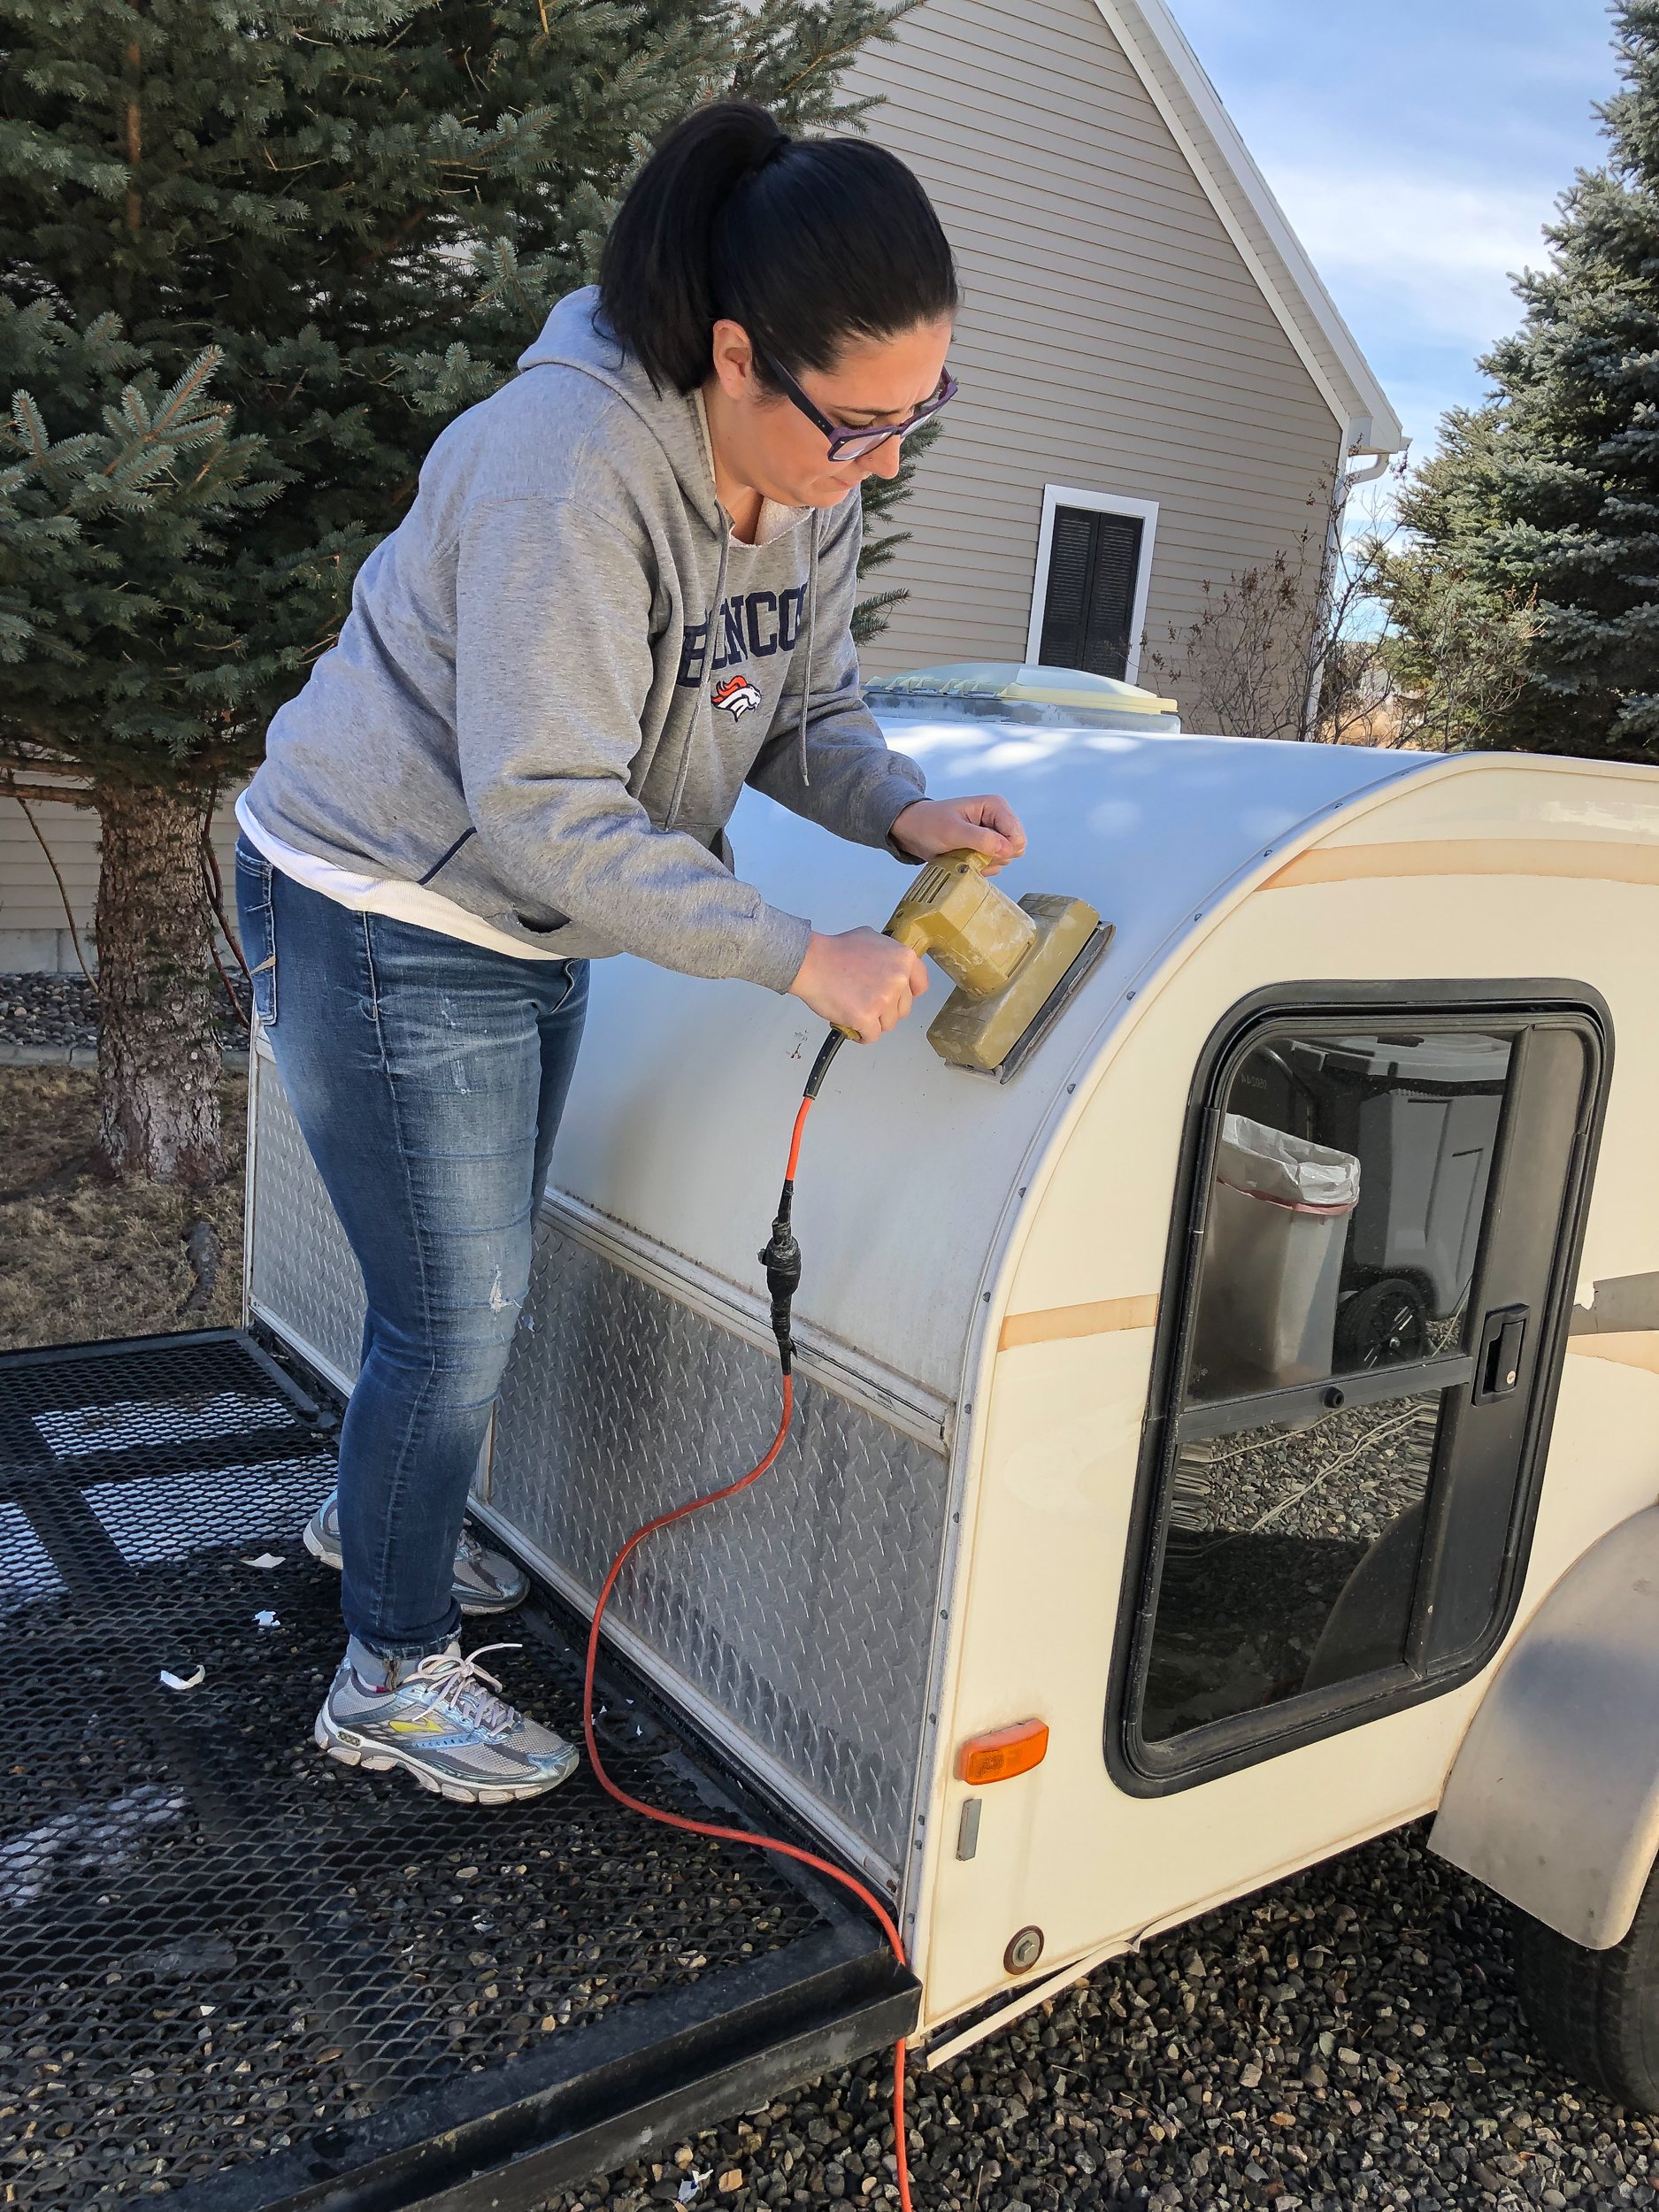


Step #2 - Repair
We identified several repairs that needed made. There were a couple of spots on the shell in need of fiberglass repair, we were able to find a kit at Ace Hardware that worked perfectly. After drying we were able to sand the area smooth. The metal frame also had a little damage. Steve was able to bend the frame back and also screw it in place. The vent on top was broken, basically it was not opening and closing, so we hit up our local RV/Camper store and found the exact vent which Steve was easily able to replace.


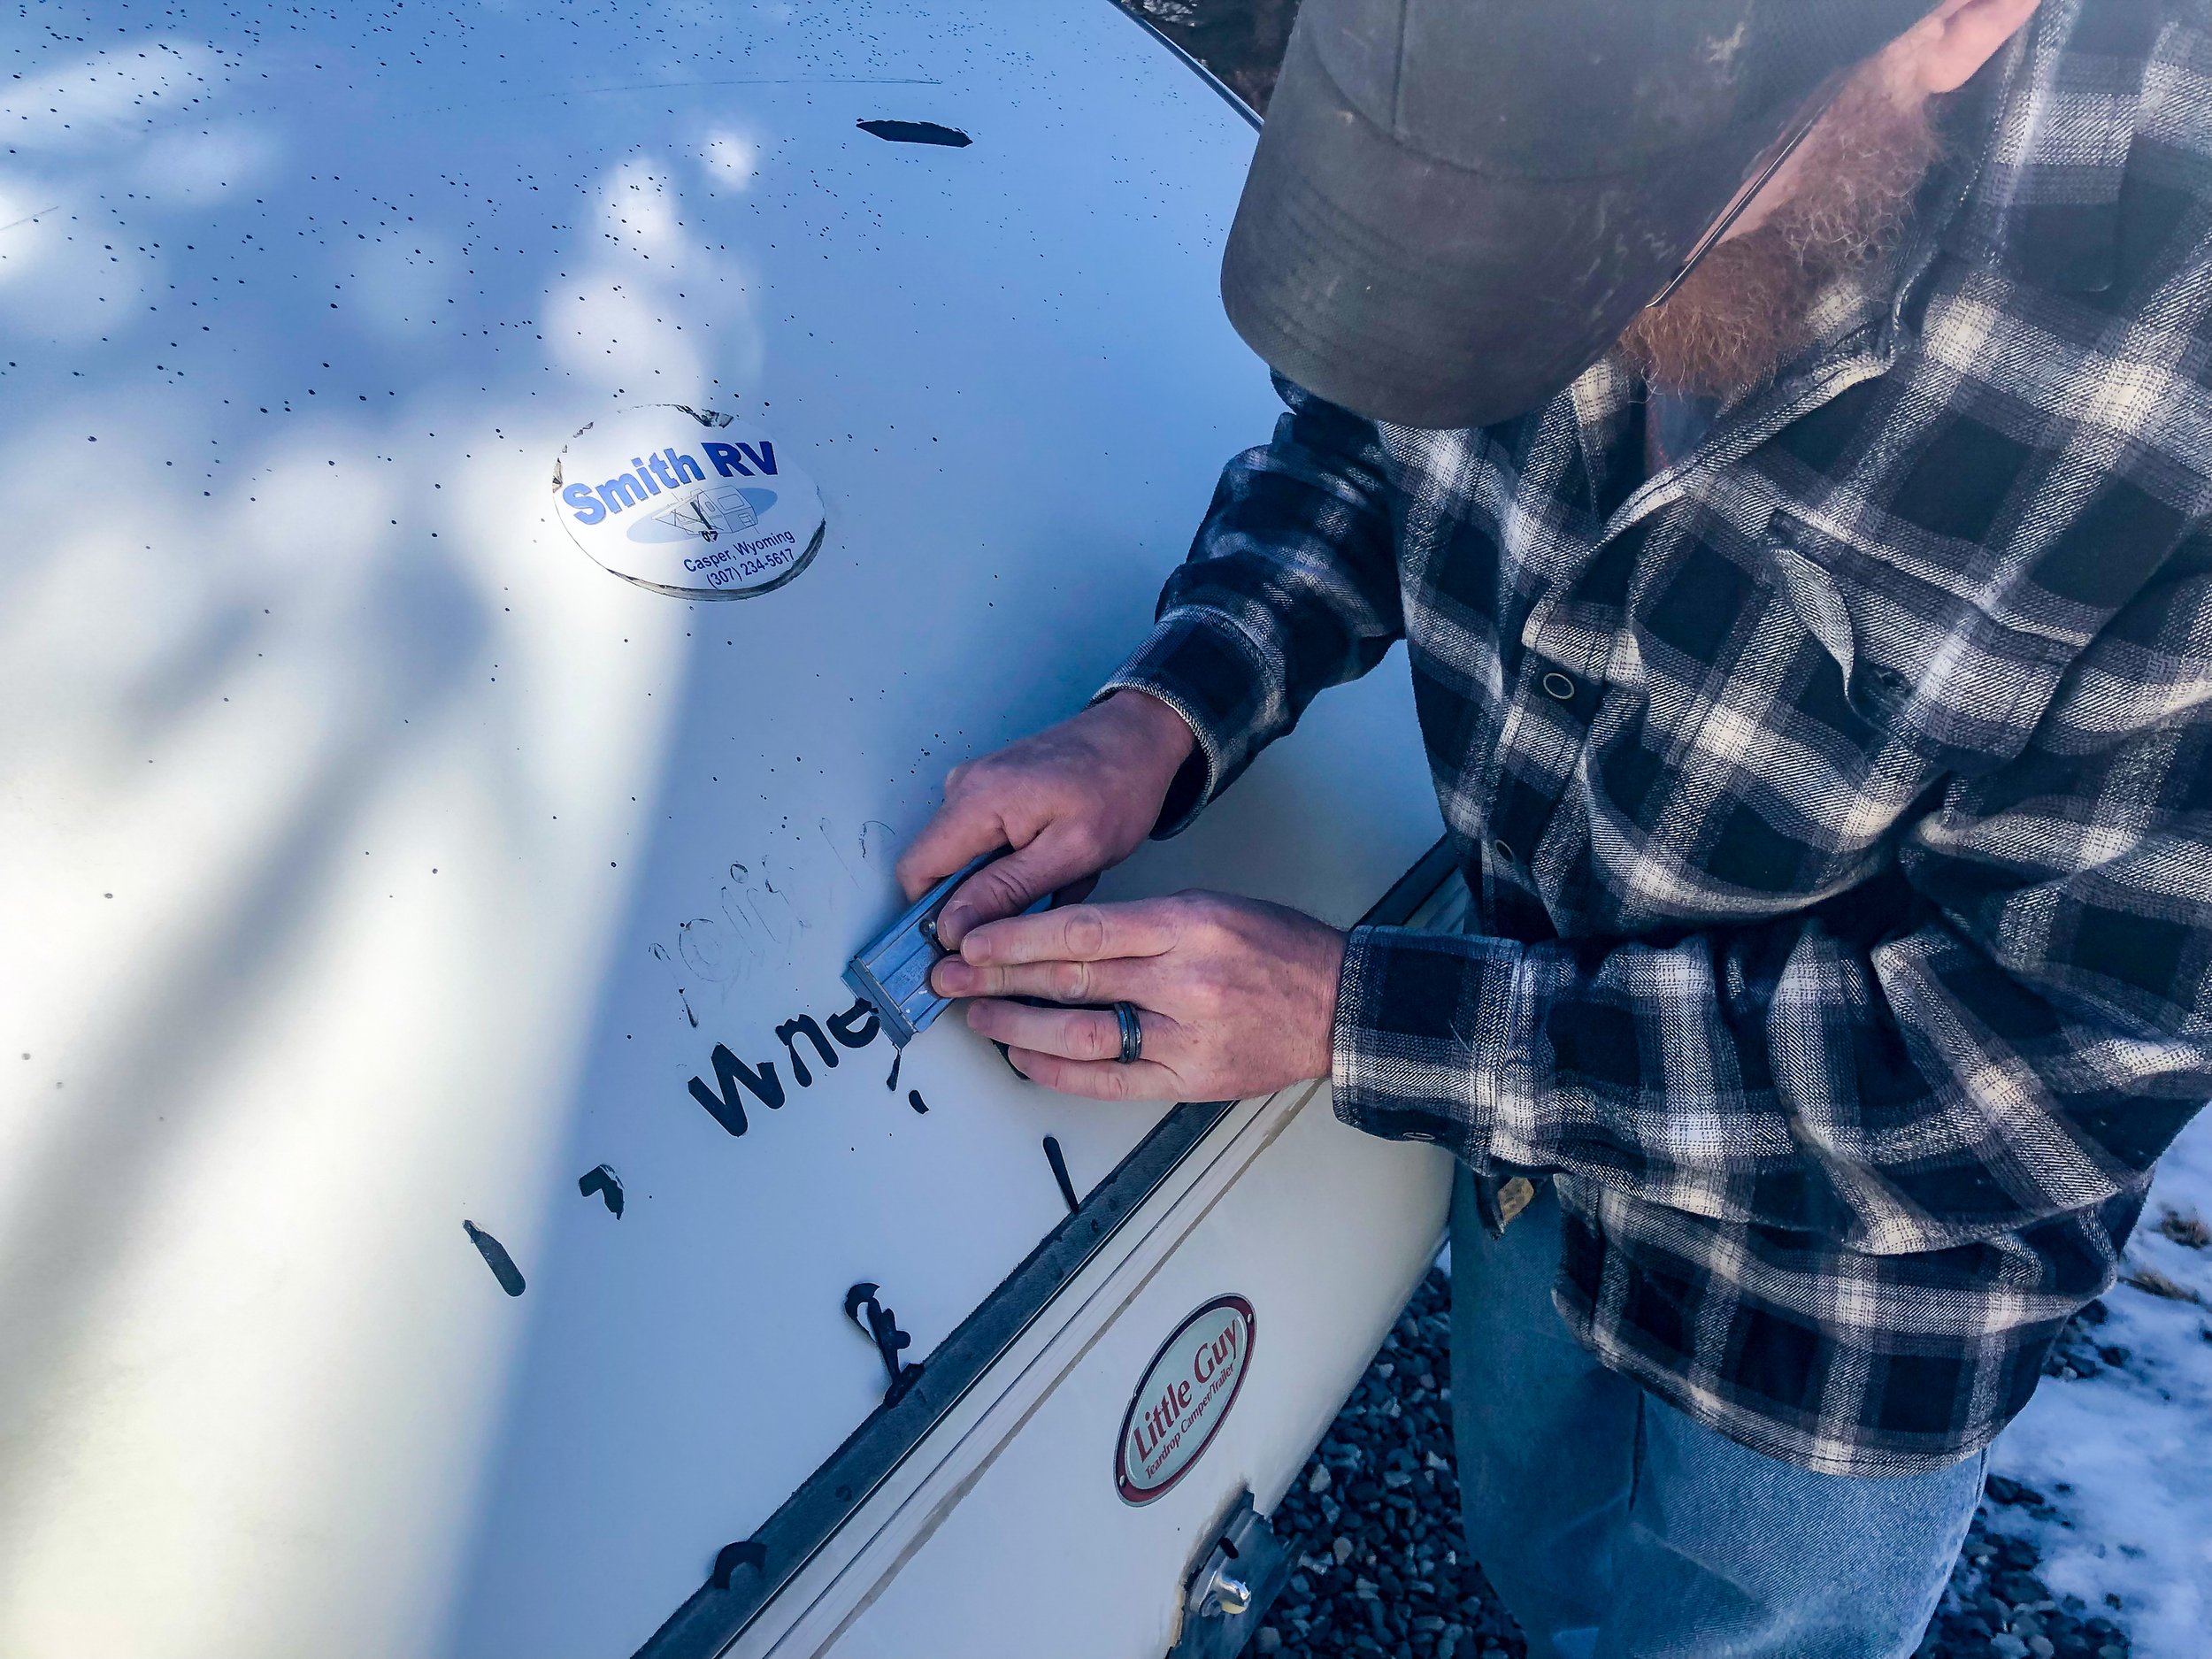
Step #3 - More Prep And Cleaning A Foam Mattress
Once the frame and shell were repaired we sanded once more and wiped the entire shell clean. The camper came with three foam mats for sleeping. The camper is just a bed on the inside, a California King, which gives us plenty of room for Coda, our Black Lab, so he can join us on our camping trips. While the mattresses were being deep cleaned we replaced the back hatch kitchenette countertop, took out the back interior panel to rewire the tail lights, and vacuumed the entire interior floor and walls.
Cleaning Foam Mattresses
This took a lot of research because we didn’t want a cleaning chemical to melt the foam and we didn’t want to damage the mats due to water weight. They weren’t in terrible condition because the previous owner had laid double sheets down and used sleeping bags. But they need some TLC.
Supplies:
Fabric Softener
Spray bottle
Hot water
Hose hook to spigot
Large clean area to work (we used a driveway)
Lay out the foam mattress - We swept and hosed down the driveway for this project.
Fill a spray bottle with warm water and detergent. The ratios don’t really matter, I did 3/4 of the bottle with warm water and 1/4 with detergent because the mattresses had a weird smell.
Soak the mattress with a hose - soak it well so the dirt, grime, and smells are washed out.
Liberally spray the mattress with the detergent water mixture. I went over it a couple of times.
Allow to soak for 30 minutes. I occasionally misted the mattress with the hose to prevent drying.
Do NOT attempt to move the mattress while it is soaking wet because the water weight will tear it.
Rinse the mattress several times.
Allow to lay out and dry.
Carefully flip the mattress so the back side can dry.
There may be small pieces of dirt, but the mattress is clean. Wait until it is dry to brush clean.
Once dry the mattress will smell fresh and clean!

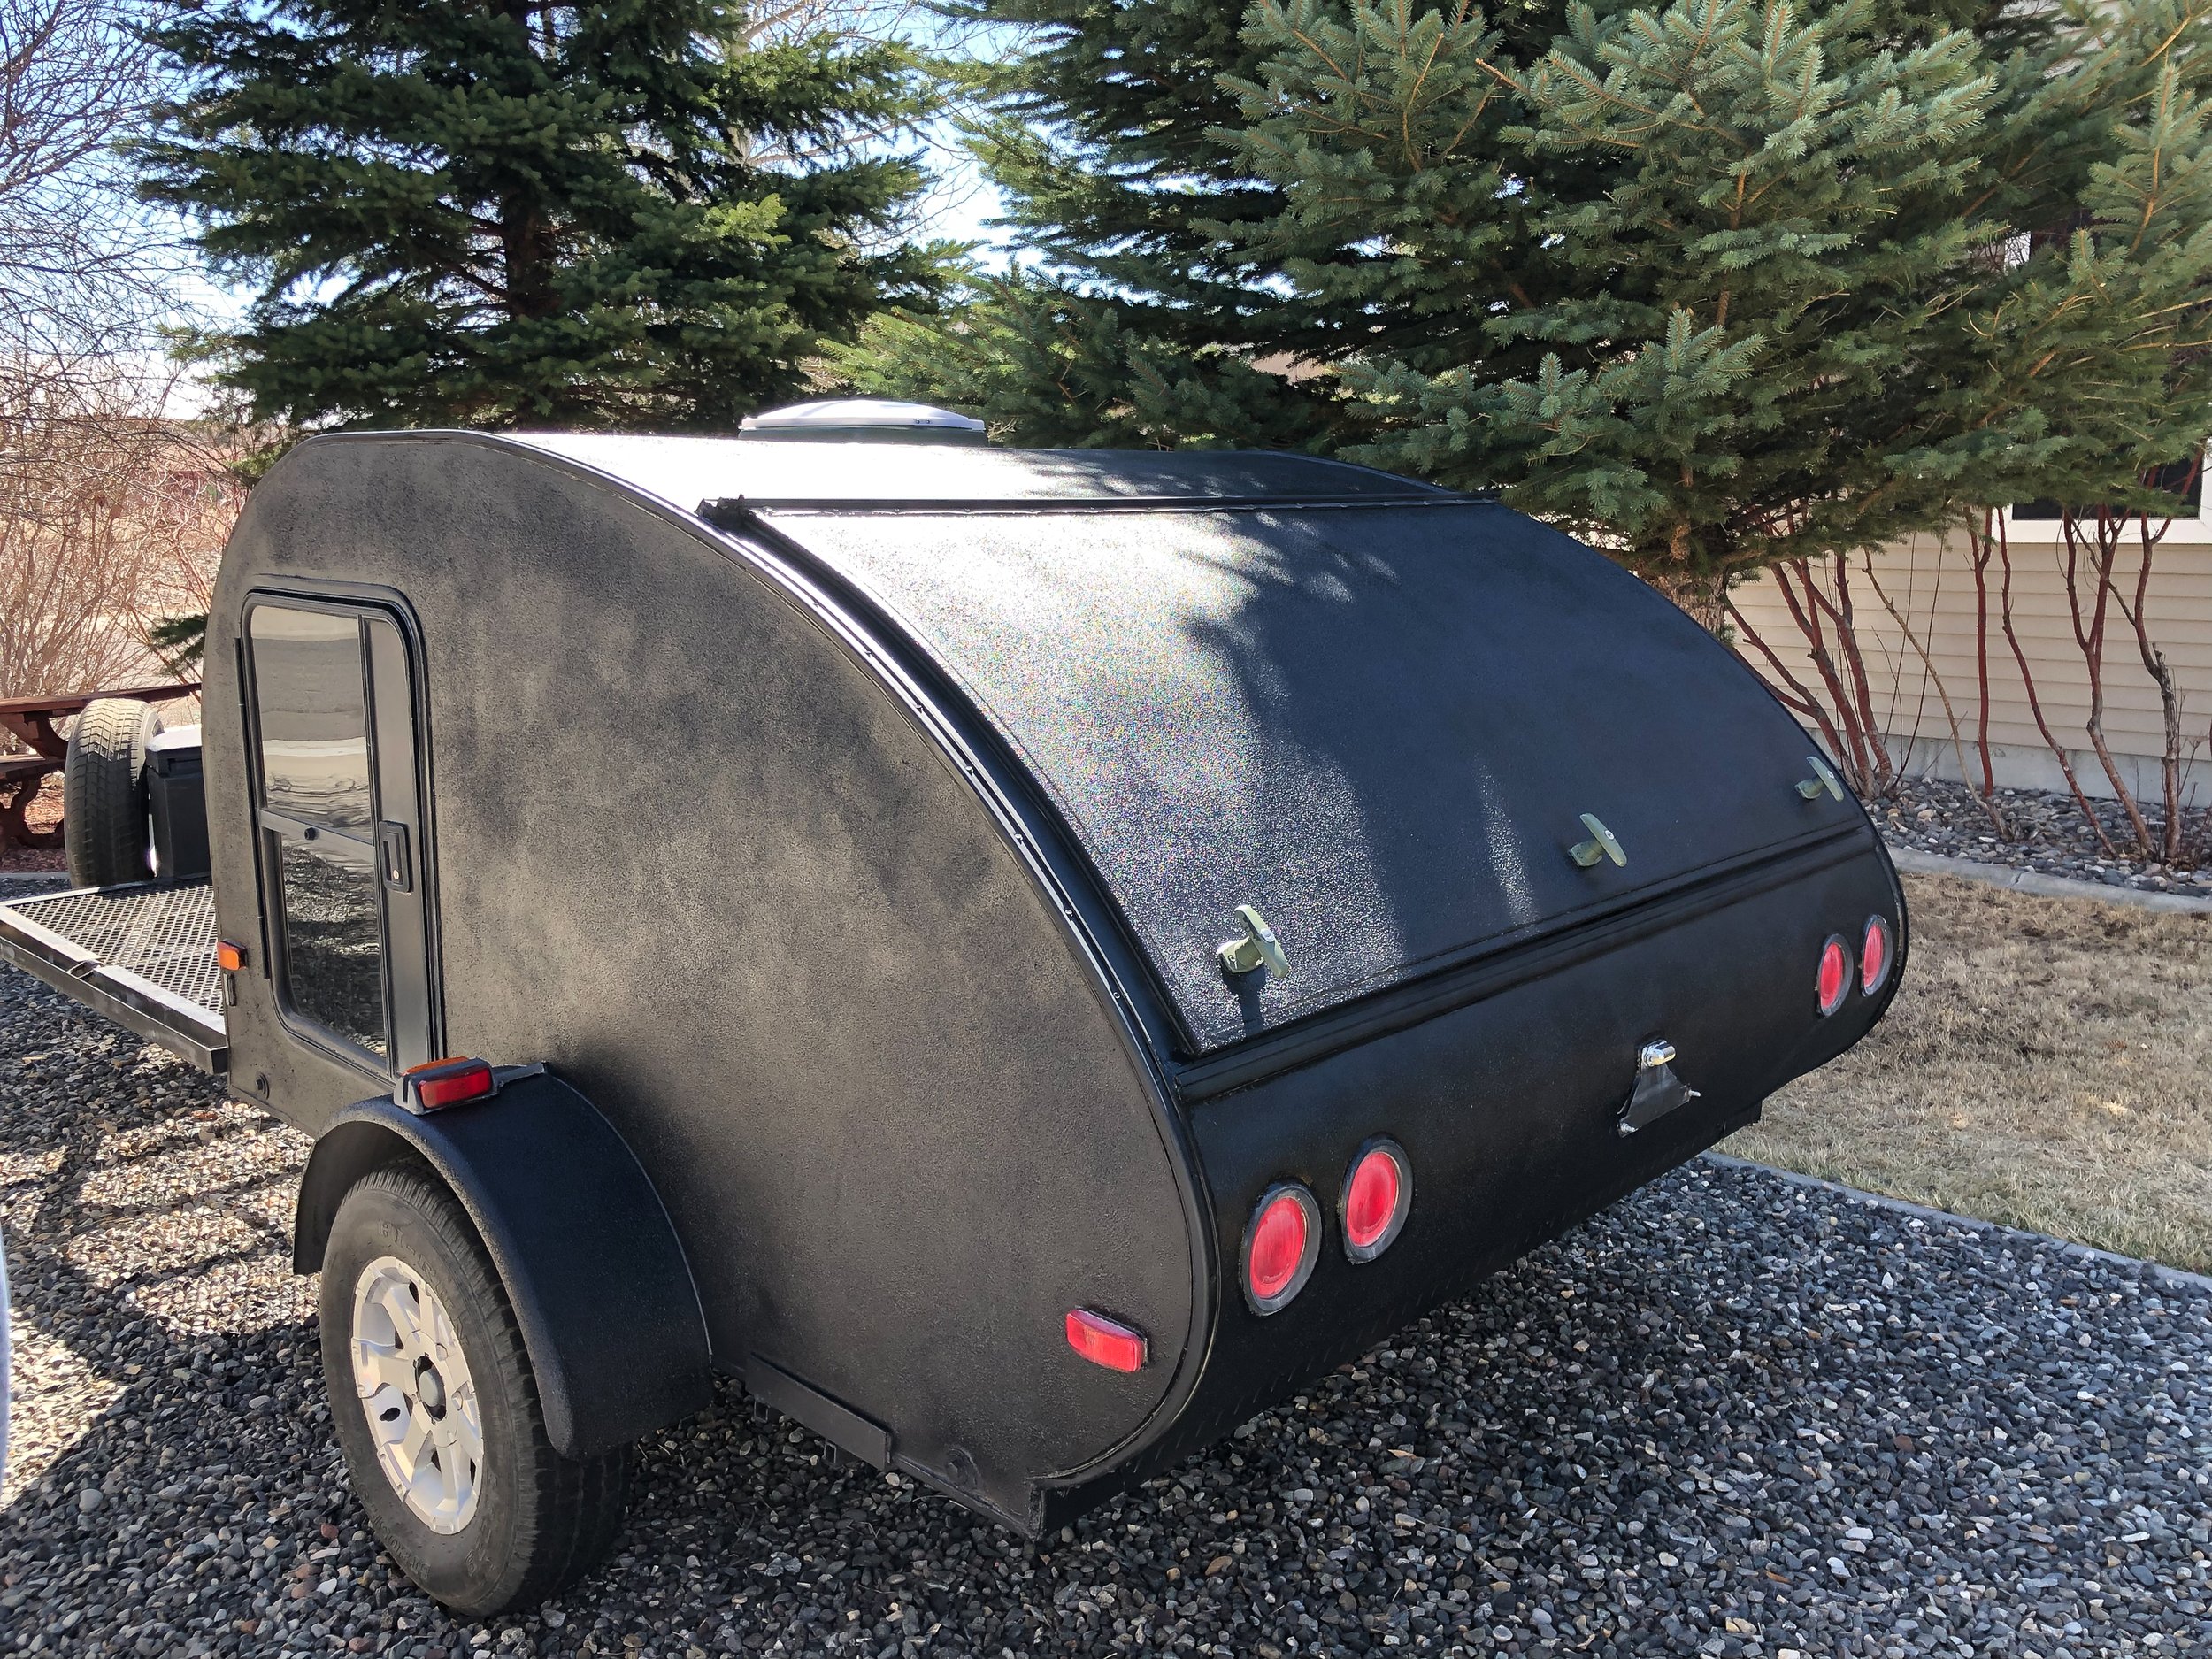
Step #4 New Look
This next step was fun. We painted the cabinets a dark gray and took out the brass knobs and spray painted them a matte black for a more modern look. Then we took a black spray paint meant for metal and touched up the toy hauler platform and trailer neck to look brand new. After this, it was time to give the shell a brand new look. We knew we wanted the camper to be able to handle dispersed/backcountry camping. Having a 4 wheel drive vehicle we need this camper to keep up with us. We choose to use Rhino-liner on the shell. With our location and mountain camping we knew the heat of the day wouldn’t bug us during the night. The color worked in our favor by providing us with solar heat.


Here is a time lapse of the application process. Steve did a great job!
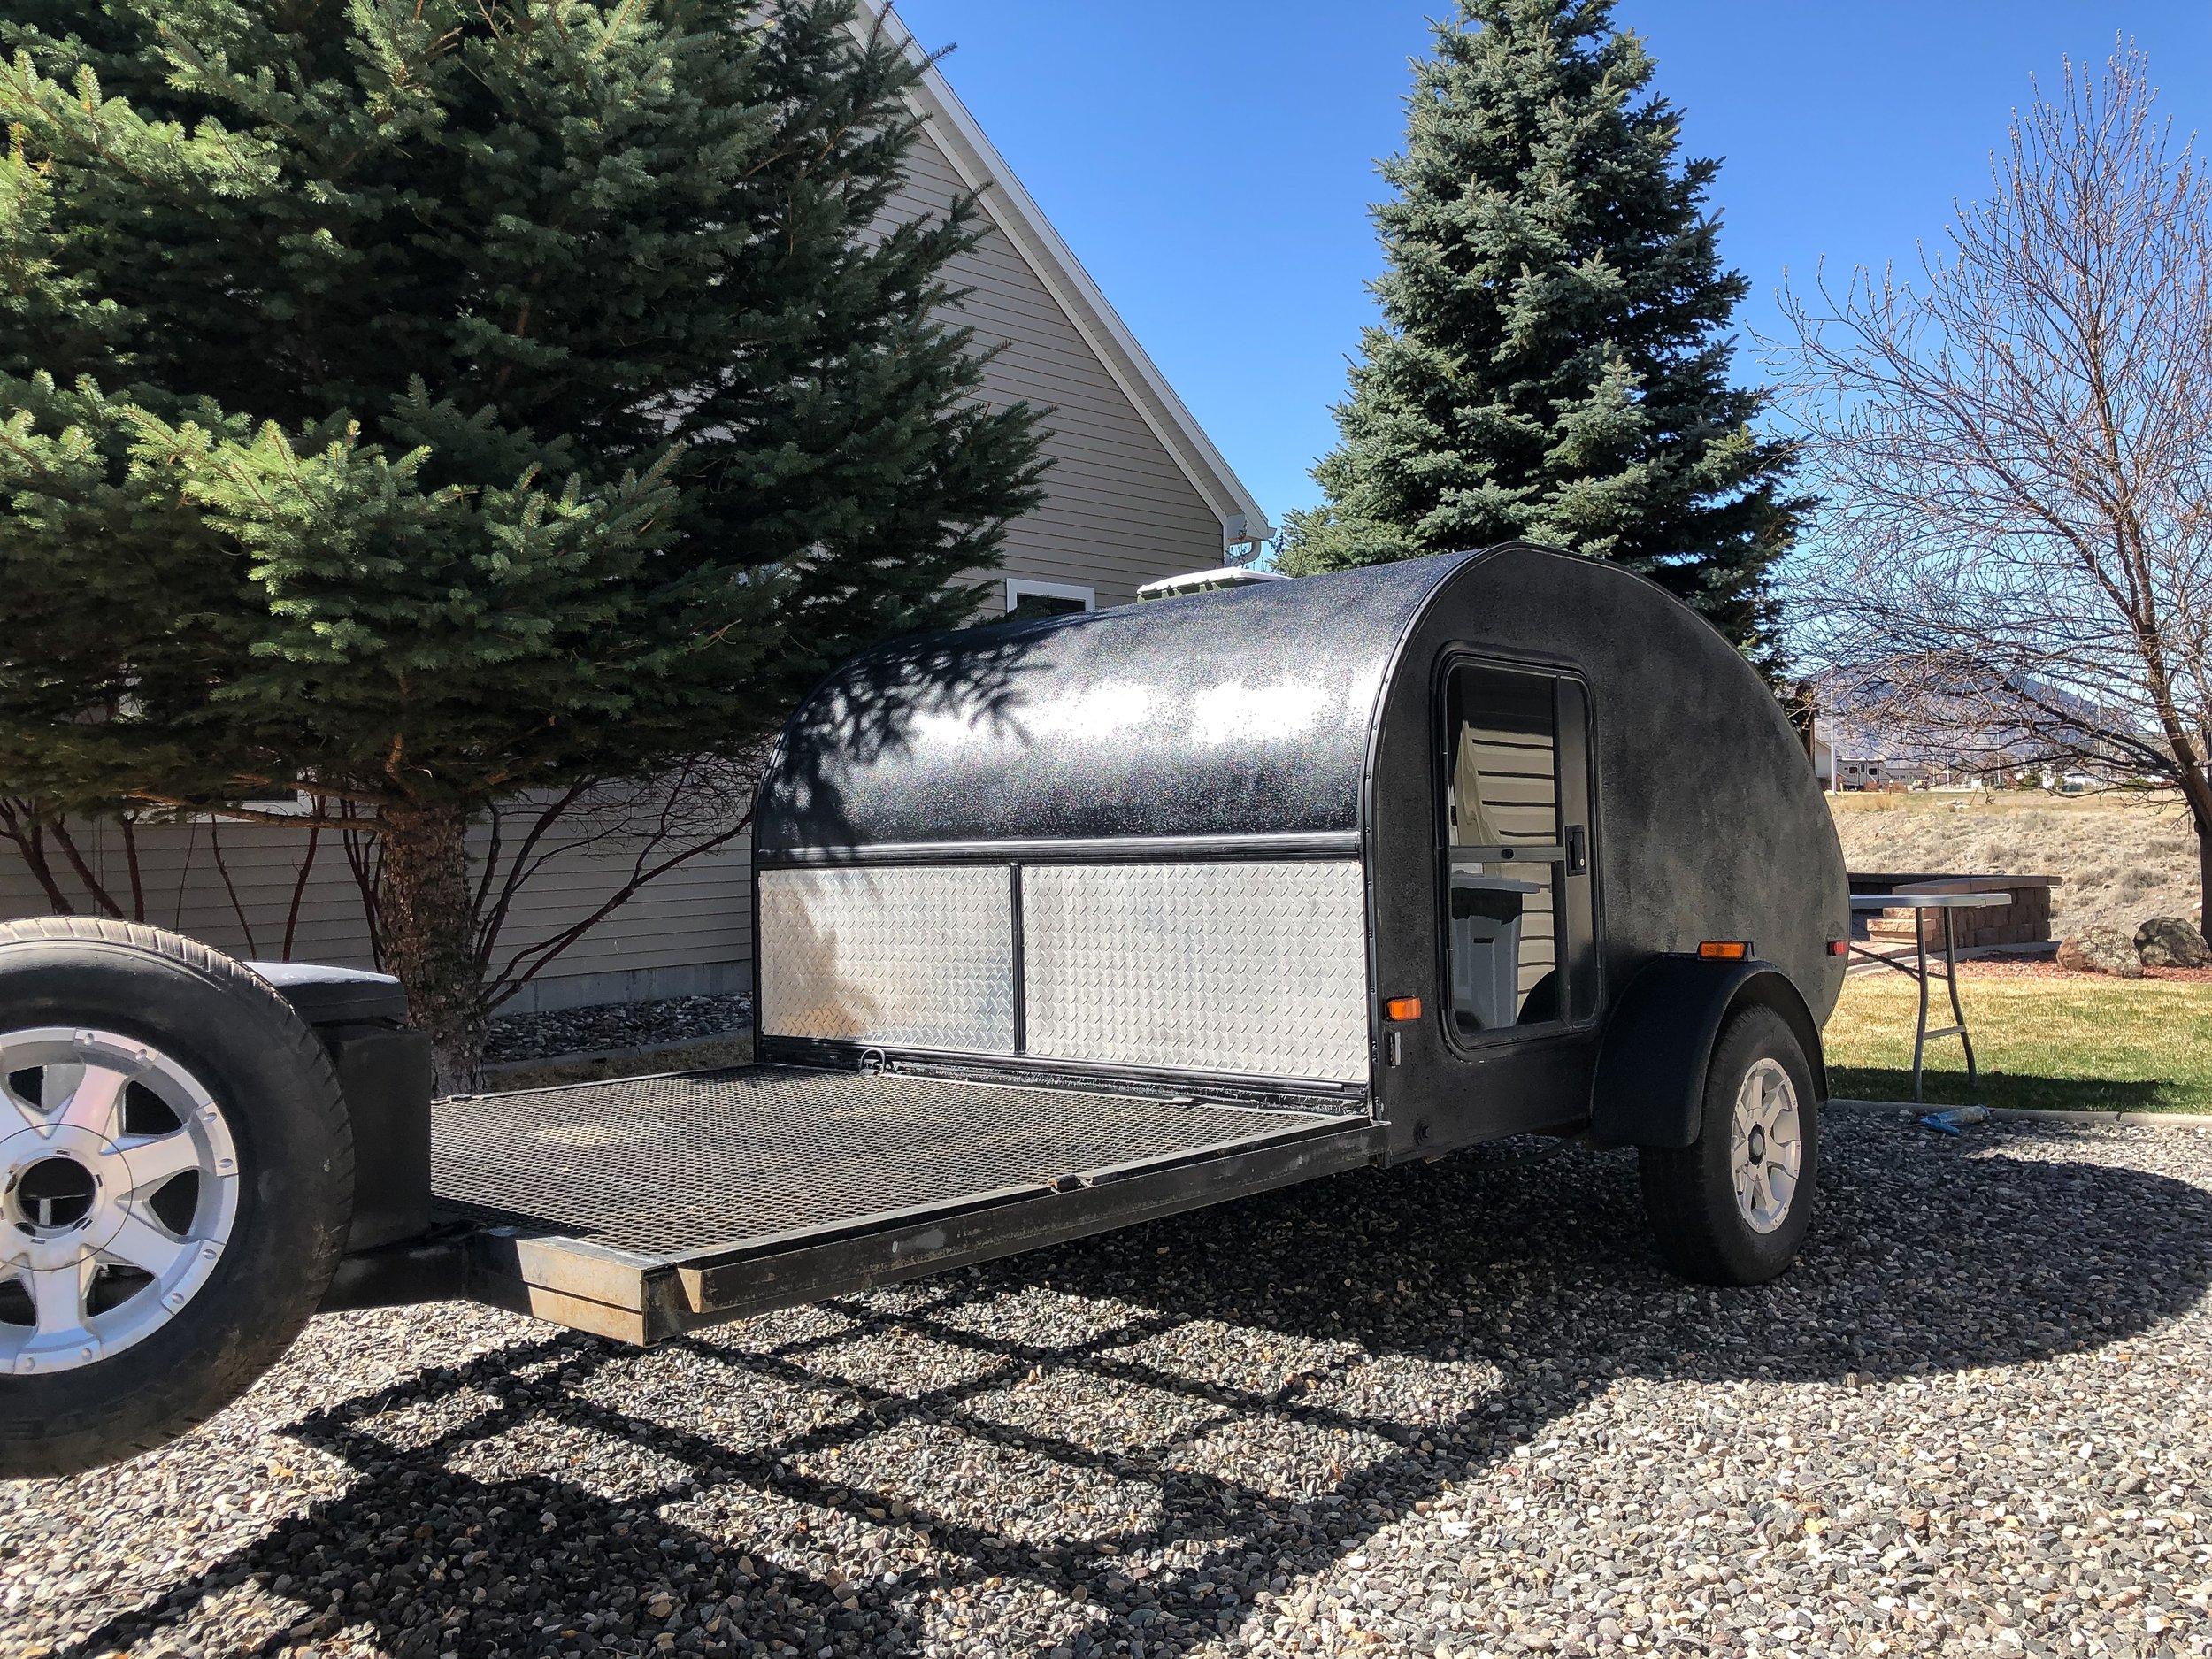
Step #5 Details
Some of the other details were metal pieces that Steve painted an olive green. We also chose a clear caulk to ensure everything was water tight and ready for our next adventures. We found a used truck box that we bolted to the toy hauler portion to hold our camping supplies, i.e. camp kitchen, stuff to start campfires, first aid, sun screen, bug spray, et cetera. The box matched the diamond plate protector on the front of the camper shell.


Step #6 Final Looks
The final piece for me was making it homey so we could sleep well on our camping adventures. I chose flannel sheets, gray because dirt… a fun down comforter and fun duvet. I found an amazing corduroy pillow “headboard” and adventure themed throw pillows. Steve made little shelves for our water, flash lights, and miscellaneous items along with putting in hooks for our hats.


Recap
The final product was everything we wanted and this camper is perfect for us. We don’t need anything fancy to go camping, but we wanted a hard-sided place to sleep to protect us from the weather and any wildlife. We were limited on where we could safely camp and this camper solved that problem.
After a few camping trips We realized that changing clothes and space to move around was a bit limited. We found a tent that was meant to fit seamlessly over the hatch of a SUV. We were able to fit it over the side of our camper so we could enter and exit directly into a private protected area. This is an amazing hack for those of you with teardrop campers.
For those wondering, we spent very little on this camper. The total cost of repairs, the truck bed box, and bedding was approximately $500. It was the perfect investment in our camping and adventure


Go Adventure!
We love our camper and always look forward to getting out and unplugging. Be sure to share your camper projects and adventures with us on social media! Tag us @LiveWYldMag and use #LiveWYld.